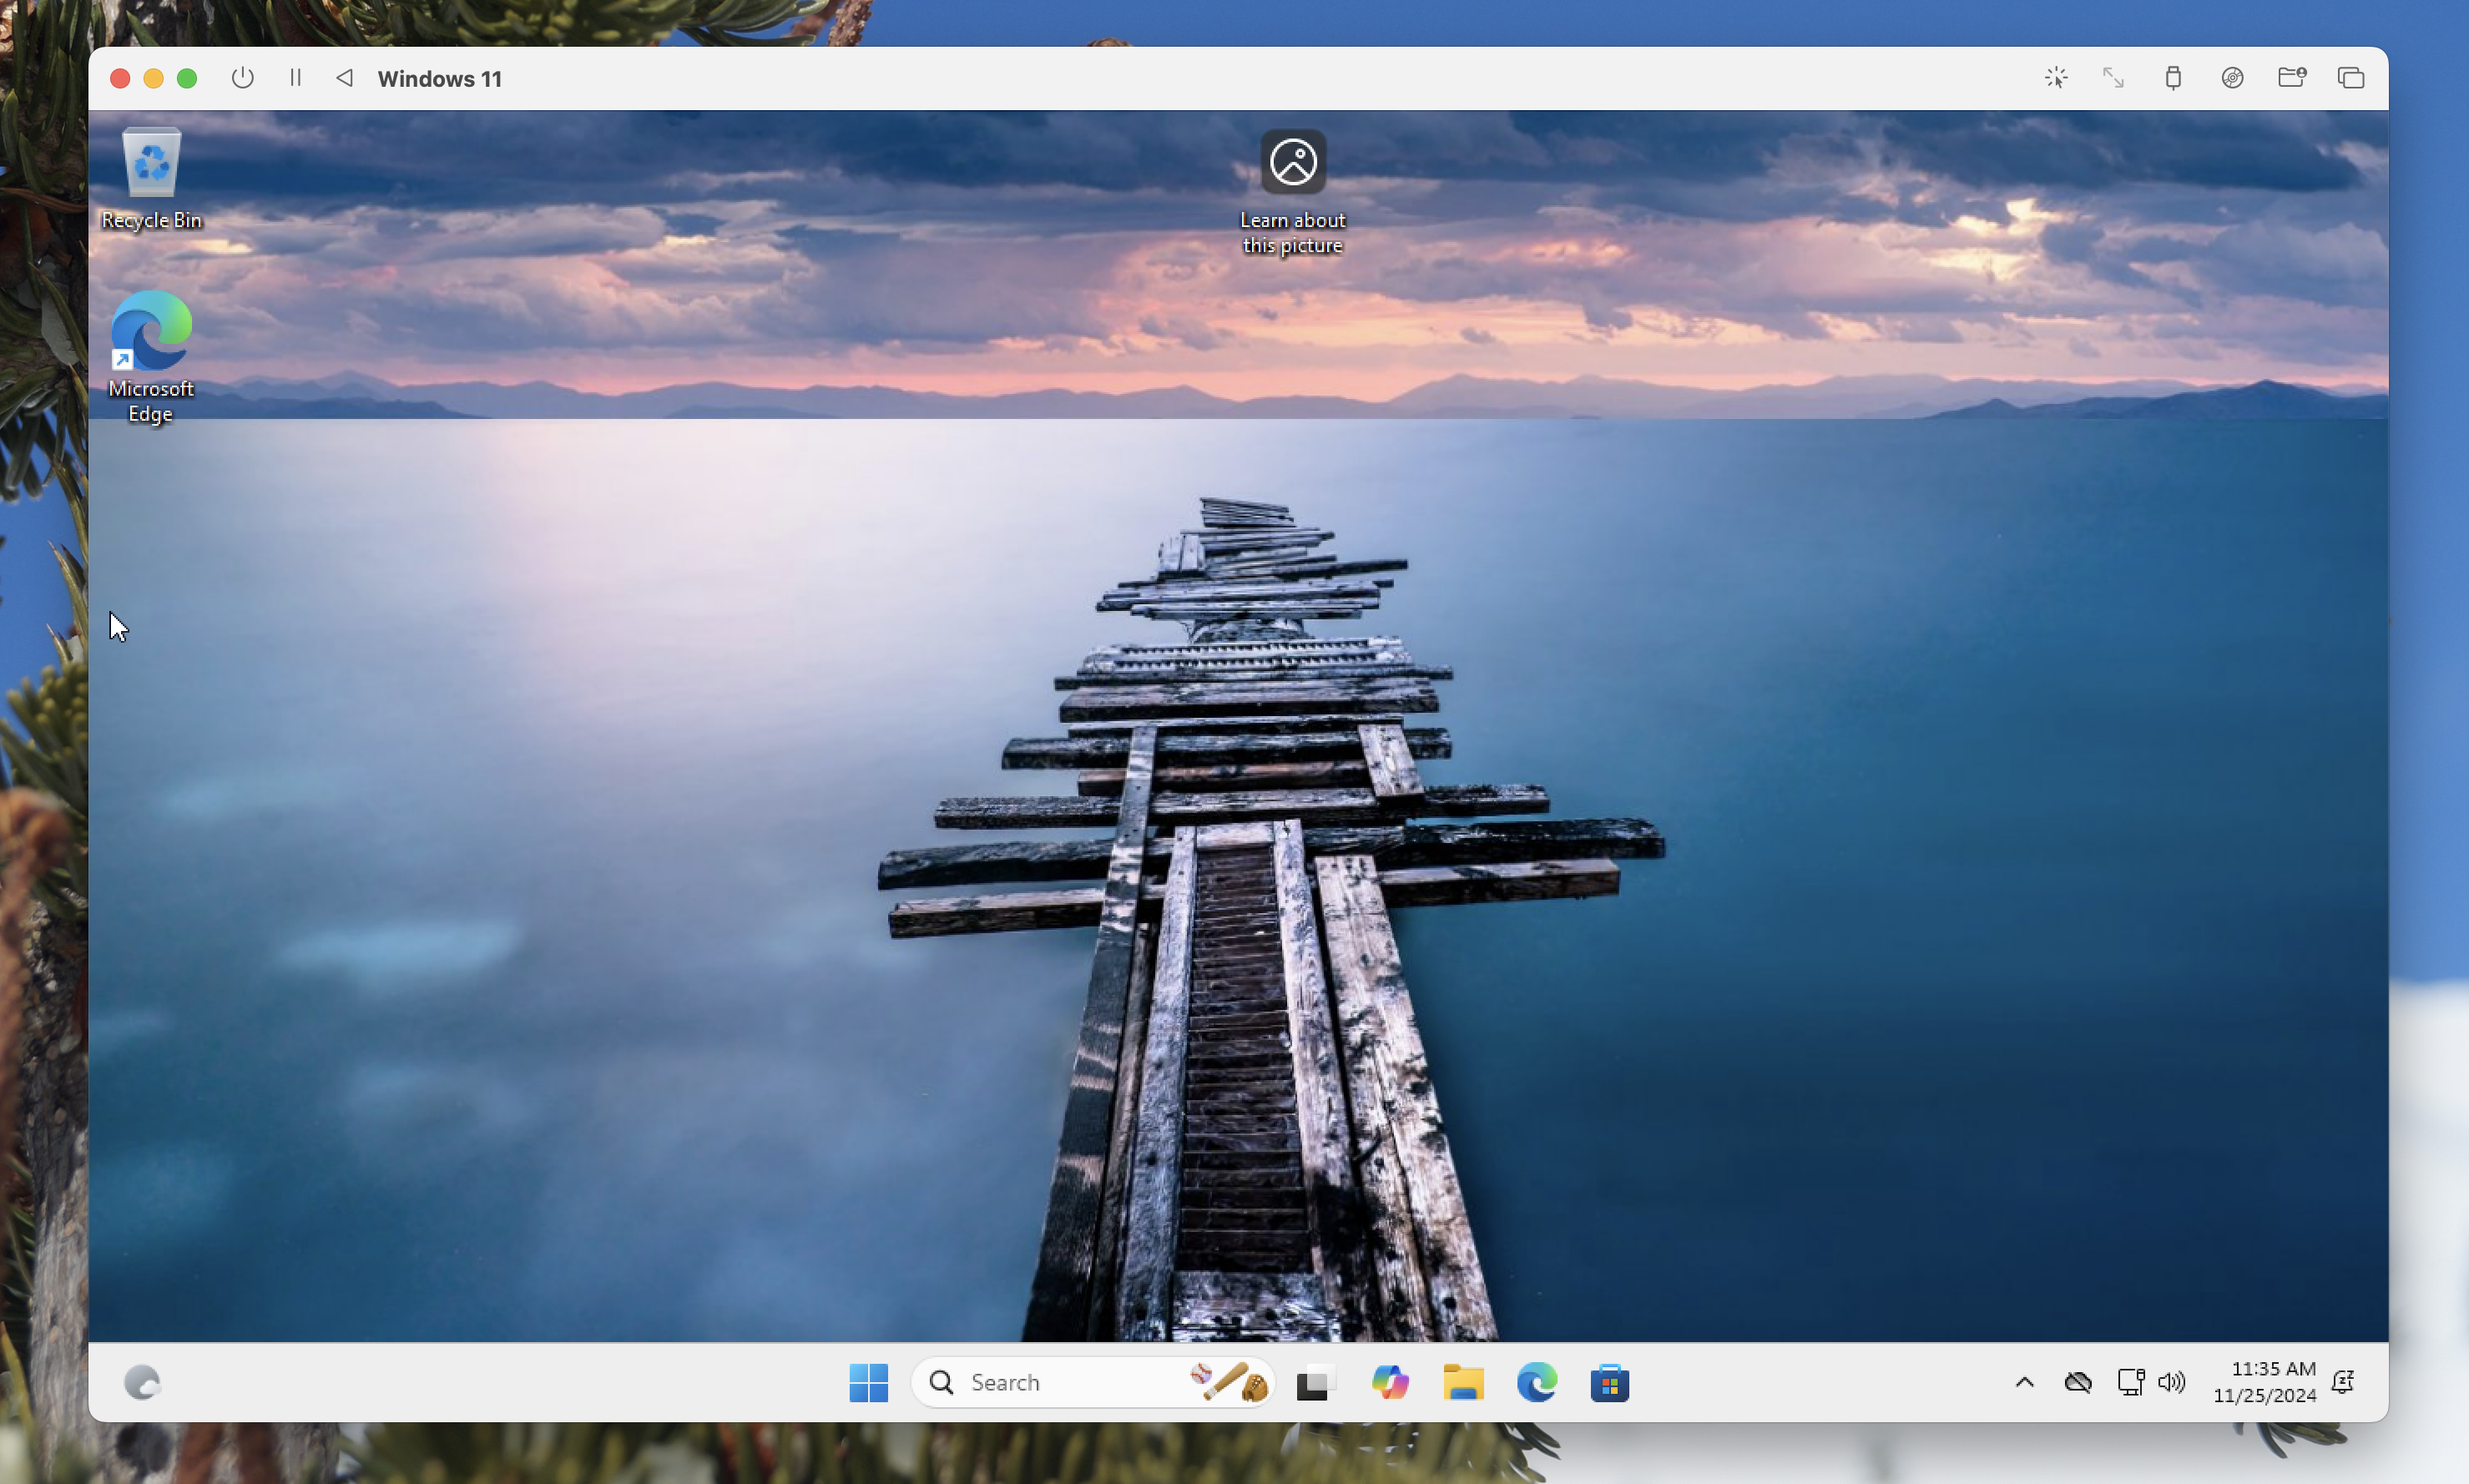
Apple Silicon Macs don’t support Boot Camp, meaning you can’t install Windows and boot it up directly. That doesn’t mean you can’t get Windows 11 up and running on your Mac, though. Microsoft officially recommends two expensive options to get it done: paying for the online service Windows 365 to run Windows remotely, and paying for Parallels Desktop to run it virtually. There’s another option, though, and it doesn’t cost anything.
Run Windows on Mac without a subscription
UTM is a polished open source Mac application based on QEMU, an open source emulator. With it, you can create a virtual machine running Windows within your Mac—meaning the entire operating system is running in a window alongside macOS. There’s support for natively virtualizing the version of Windows intended to run on Arm-based processors, which run quickly; if you’re willing to take a performance hit you can also emulate the x86 version, which is compatible with more Windows software.
Note that this is not an ideal setup for gaming on Windows—there’s no support for GPU emulation (check out the Game Porting Toolkit instead if that’s what you’re looking for). If you just need access to a few specific Windows applications, or to test software in Windows, UTM has you covered.
How to run Windows on a Mac via UTM
The process to get Windows up and running on your Mac isn’t too complicated. To get started download UTM—there’s a free download on Github, or you can pay $9.99 for the Mac App Store version. Next you need a copy of Windows 11, which you can download from Microsoft—here’s the Arm version, and here’s the x86 version. If you find dealing with Microsoft’s download tools too annoying, the UTM developers recommend using Crystalfetch, a free Mac app that downloads ISO files from Microsoft. Note that Windows itself isn’t free—you will need to buy a license to legally download and install the operating system.
Now that you’ve got an ISO for Windows, launch UTM and click the “+” button to create a new virtual machine. You will be asked whether you want to virtualize or emulate an operating system. If you want to run the Arm version of Windows, choose “Virtualize.” If you want to run the x86 version, click “Emulate.” Next you will be asked which operating system you want to set up.
Credit: Justin Pot
Click Windows. On the next screen you will have to point the application toward the ISO file you previously downloaded.
Credit: Justin Pot
You will then be asked how much memory and storage you want to allocate to the virtual machine. I recommend sticking with the default options, unless you specifically know what you want. You will also be asked to choose a shared folder; this is a folder on your Mac that your virtual machine will be able to access—you can share your entire Home folder, if you want access to all files, or just a particular folder.
Finally, after all that, you can start the virtual machine for the first time. Eventually the Windows installer will boot up—follow all the prompts just the way you would setting up a Windows computer.
Credit: Justin Pot
Once it’s done running, you will be looking at a Windows desktop, albeit one with a tiny display and no internet access.
Credit: Justin Pot
You’re not quite done: It’s time to set up the drivers. Open File Explorer—there should be a virtual CD mounted there. Run the executable file there to set up the guest tools.
Credit: Justin Pot
Your virtual machine will install the drivers and reboot. After that the resolution of the virtual machine will scale as you resize the window. You will also be able to access both the internet and your shared folder from within Windows. Congratulations: You now have a working version of Windows on your Mac.
