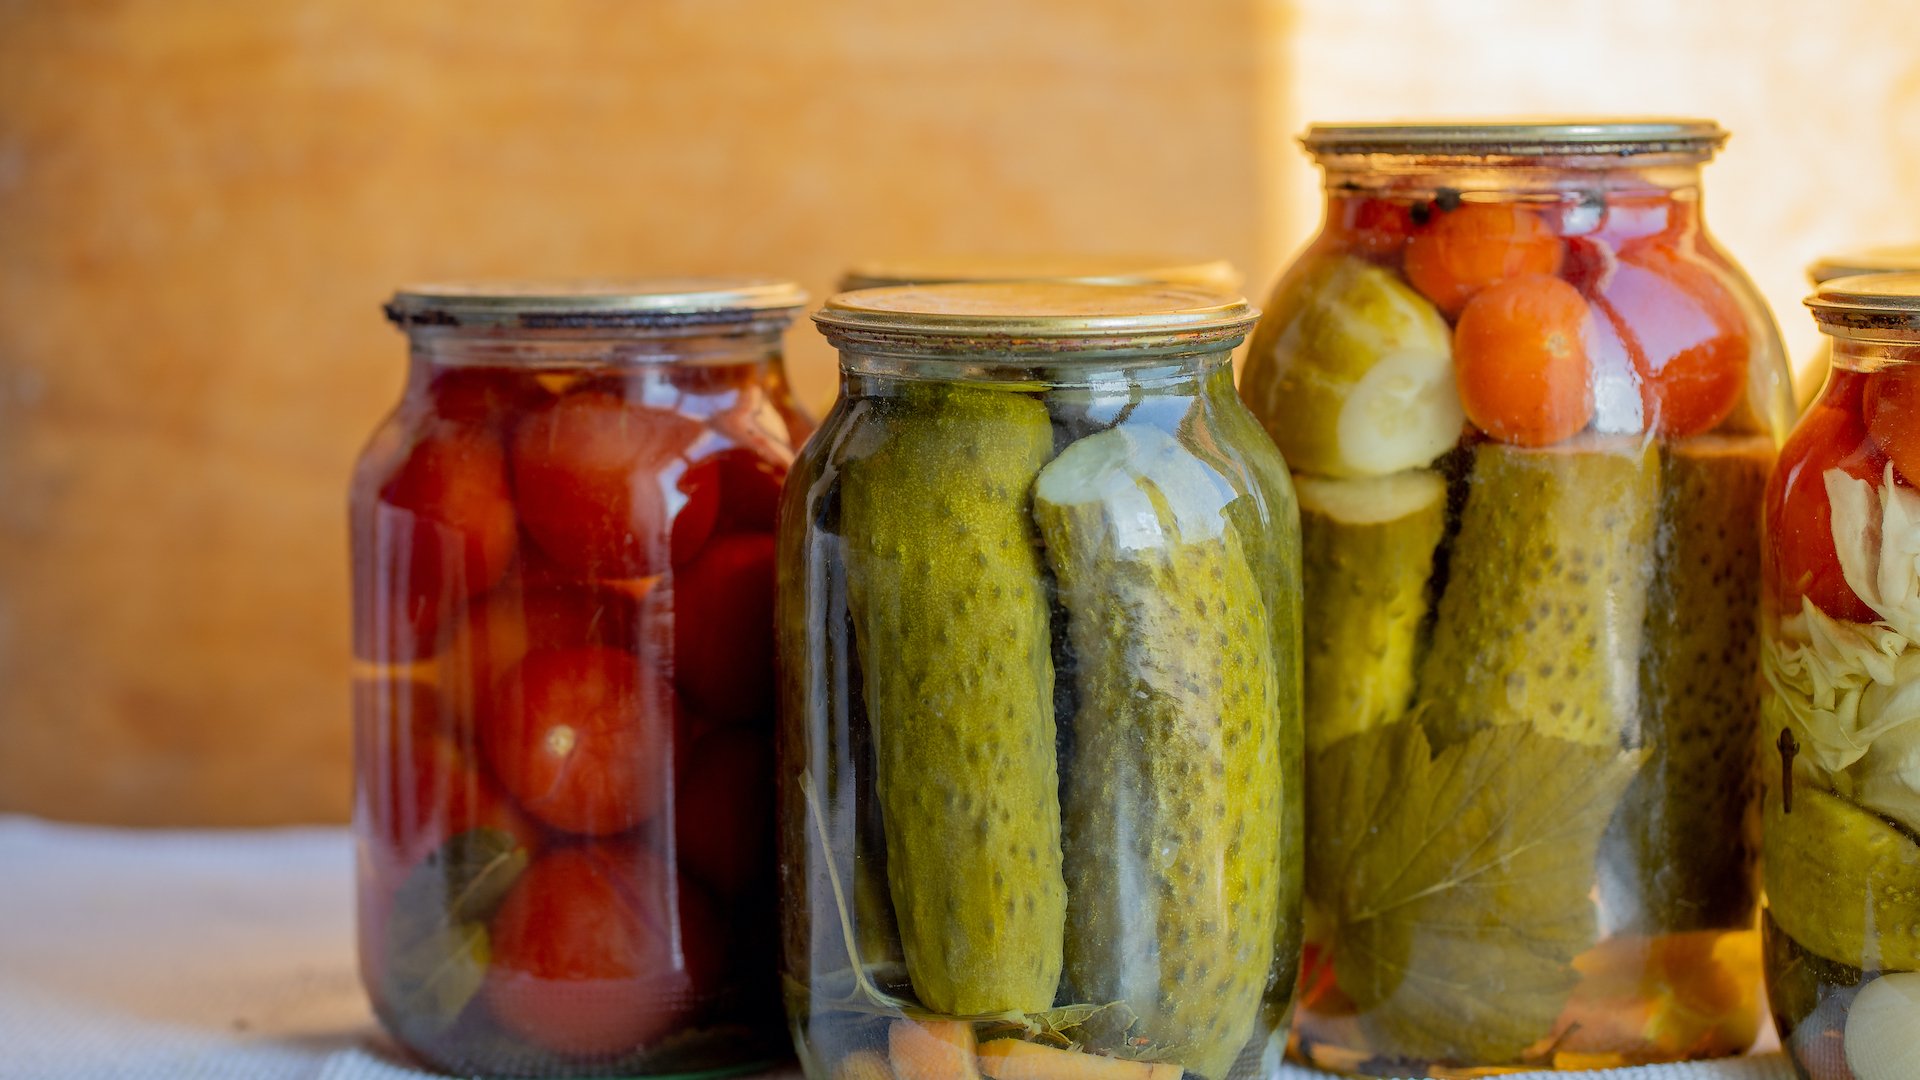
Now that I’ve been canning for some 20 years, I love teaching it to other people. However, the USDA learns new things every year, and as such, canning rules occasionally change. Some of those changes in the last 10 years have made canning a lot more efficient and much less painful. (I’ve also got my own hacks, which I’ll share here.)
Canning makes foods shelf-stable
At a basic level, canning is exposing cooked food to pressurized heat for a long enough time, at enough pressure, to kill any pathogens, seal the jars and make the food shelf-stable. Now, you can’t just can anything. Foods must have a certain acidity to be safe, and be prepared in a specific way to prevent dangerous bacteria from cultivating in your jars. Additionally, you have to use specific jars meant for canning. There are still a handful of botulism cases every year, and it is a wildly painful and sometimes deadly infliction. The USDA and Ball (the company that produces most canning supplies, and a canning authority) both produce safe recipes to follow if you’re starting out. There is specialized equipment like pressure canners that are necessary to safely process some foods. Tomatoes can be processed at a lower temperature and pressure, so you don’t need a pressure canner for those. But canned tuna and other acidic products require the pressure canner.
No more pre-sterilizing jars and lids
It used to be that in addition to cooking the jam or sauce going into the jars, you had to spend a lot of time prepping the jars: sterilizing them, handling the hot jars, and then sterilizing the lids. All of this handling hot metal and glass meant extra time and danger. Newer regulations, however, give you some leeway. The USDA now says you don’t need to sterilize jars if you are going to be processing them for longer than 10 minutes. Since I’ve yet to find a single recipe that requires less than 10 minutes of processing, you can clean your jars well (a dishwasher is perfect for this) and use them straight away.
In more good news, Ball, the maker of most jars and lids, decided in 2014 that it was no longer advised to boil lids before use. Once food is in your jars, use clean hands to place a lid on the jar, and then seal with the canning ring.
Can in the size jar you’ll use
Most recipes and pictures show everything canned in quart size jars. A quart is a lot, unless you have a family. If you’re canning for one or two, don’t be afraid to use smaller-size jars. Each year, I can my tomato sauce in smaller and smaller jars, because that’s how much I use for a meal for one. I can my pickles in half pints, because if I’m making burgers, I want just enough pickles for that, without having to store a whole jar in my fridge after. Jars come in a million sizes, so think carefully about what you’ll really use. Don’t can ketchup in a pint size, for instance—you won’t use it fast enough. Same for jam.
You can sous vide your pickles
As I mentioned earlier, different foods have different needs for processing. Some foods need a pressure canner, but low-acid foods like pickles can simply be processed using boiling water in a large canning pot. Still, this is a lot of hot water and heat and glass. Lesley Kinzel wrote about sous vide canning for pickles a few years ago and now it is the only method I use. It is gentler on the pickles themselves, resulting in better crunch; it also means less hot water and less heat in the kitchen, all while meeting all the requirements for processing.
Label, label, label
You think you’ll remember what’s in a jar, but I promise you, you won’t. All jam looks the same. All tomato products look the same. You also want the date on each jar, since most jars have a two-year shelf life. I just write on the lids, which are not reusable, with a Sharpie. But if you’re looking for a nicer presentation, consider dissolvable labels. Any other kind of label is miserable to get off your jars. But I do think you use should regular labels, too, for one purpose: Make small labels with your name on them and affix them to the bottom of your jars. This is your assurance you’ll get your jars back when you inevitably gift them away.
Make sure you’re storing cans the right way
Part of canning is storing those jars the right way, because you need the lids to stay sealed. So often I see people stacking jars, which is an absolute no-no. There are two things you need to remember: First, remove the canning ring before storage. This may seem counterintuitive, but the jars are fully sealed with the lid (and if they didn’t fully seal, they need to be used immediately or the contents tossed). Leaving the ring on may give you false confidence in a lid that has popped by concealing that it’s happened. So, remove the rings before storage; they’re meant to be reused over and over. Second, when stacking jars, you must put something between them, like cardboard. The boxes that jars come in are perfect for this, which is why most people hold onto them, and use them for storage.
